If your’e about to start wiring your new home, think of one additional cable going towards your mail box. In many cases this can be done quite easily, as the mailbox sits together with doorbell or intercom and you can either use some of the cable wires there or add few additional. This fully depends on the local conditions, but lets have a lok how to add a sensor to your mail box that would notify you about any incoming letters and dropped post in general.
There are more approaches to this problem. One is to monitor the mailbox flap, which usually means adding a sensor (optical or magnetic) there, to let you know that someone dropped something in. However, this statement is not entirely true. It actually notifies you, that someone opened the flap, not that there is some mail in!
The other option is to monitor, if there is really something in the box, and this is the road I went down to. I was in a phase and a moment where I was designing the whole intercom/door bell/mailbox front end which allowed me to adopt it to the needs for this to happen. I think this solution could be applied also to existing mailboxes in many cases, but ultimately it depends on more factors like the shape and size of the mailbox, as well as the possibilities how to attach some cabling without compromising the overall look.
Optical sensor

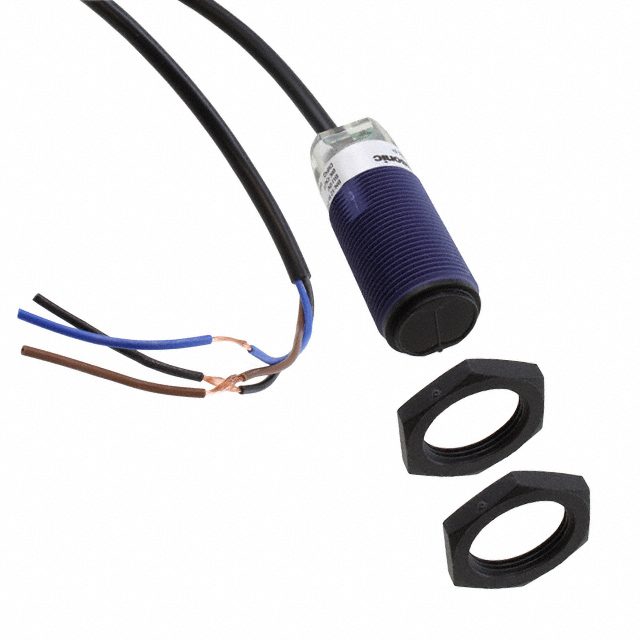
Panasonic CY-192B-P-Y-C
The monitoring itself is done using a optical beam which gets interrupted in case there is some mail (or other obstacle) in the way. The sensor I used for monitoring new mail is Panasonic CY-192B-P-Y-C, which is cylindrical photoelectric sensor, connected directly to 24 VDC, and the output of the sensor can be directly connected to digital input from Loxone. It uses Infrared LED (modulated) to create the detection beam, and the reaction time is 1ms or less. It does come with plastic reflector which was not needed in my setup.
Wiring diagram
Here is how to connect the PNP output type optical sensor.

Panasonic CY-192B-P-Y-C wiring diagram
According to the datasheet, the sensing range is up to 4m (which is way too good for this purpose), the consumption of the device is 35mA or less and the maximum output current is 100mA. Ideal match for Loxone infrastructure, where pin number 4 goes directly to the digital input. The sensor has also yellow indication LED built in the body, so you can immediately see the reaction when testing the detection.
The design
Here I have created a simple drawing of the mailbox to illustrate the sensor placement. My mailbox is intended to be built-in (in wall installation), so only the front side of this gets actually exposed to the public.

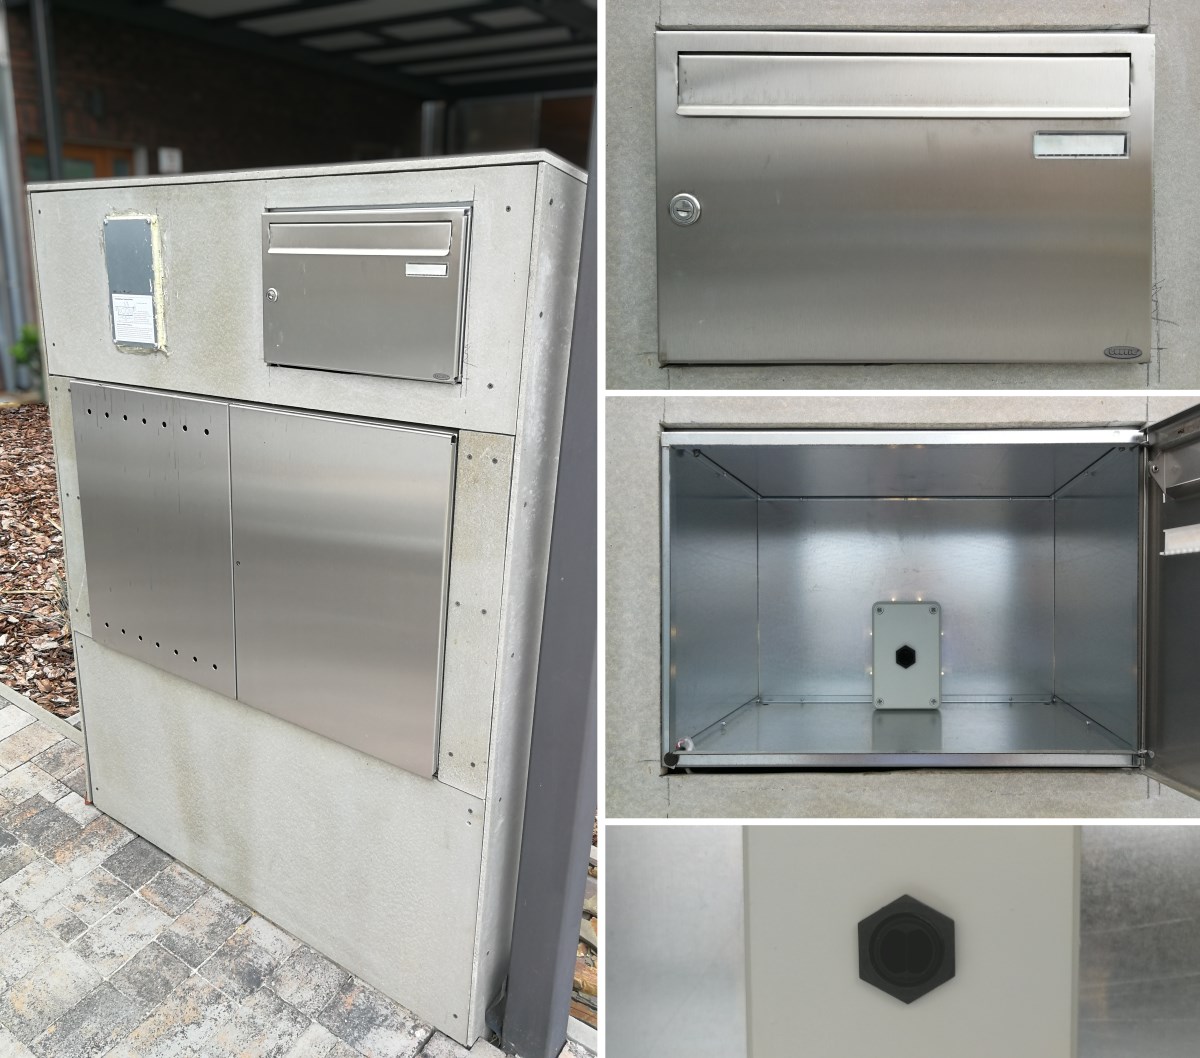
I have placed small plastic box in the middle of the rear bottom side of the base, that hides all cable connections and the sensor. I could have placed all the electronics to a box behind the back, however this would increase the depth requirements and make any future maintenance more difficult. In the real version, which I will show a couple paragraphs later, I have added magnetic sensor to the front door and LED illumination.
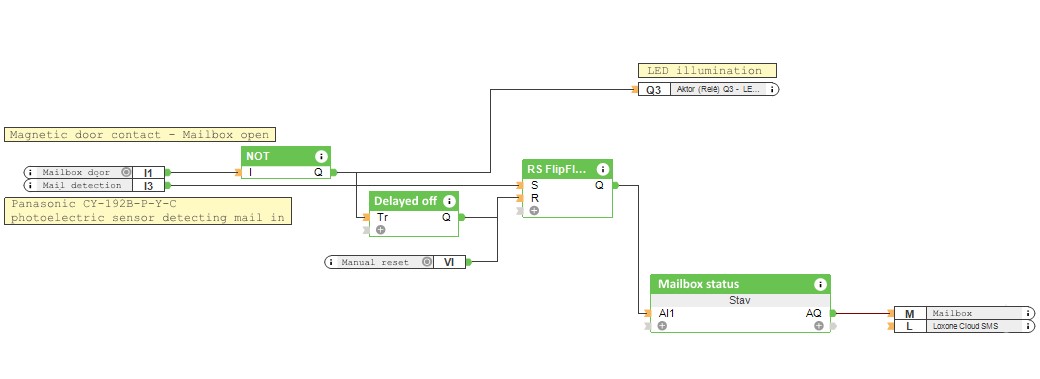
The magnetic sensor is used for three things there. Firstly it resets the virtual status of the postbox. So if a mail is dropped, the optical sensor triggers the action to set the box as “non-empty”, which is visible on the dashboard and in the app, and it also sends notification to the users via SMS that something is in the postbox already. From that moment, no additional messages are sent until someone opens the box using the key, which gets registered by the magnetic sensor resetting the status back to “empty”. Secondly, while the postbox door are open, it is important to bypass the sensor logic of optical obstacle detection, so that your moving hands don’t create any false positive pulses. And thirdly, as a side effect of having the magnetic sensor there I use the door-open information for enabling LED illumination of the opened box.
Smart mailbox config
In the Loxone config the the programming is simple. There are just two inputs from the mailbox (magnetic door contact and mail detection), and one virtual input to just manually reset the status (for debugging only). There is one output for the LED illumination, one memory flag used for dashboard, and one SMS notification (which in the end is done inside of the status block).

Finalization
I was a bit skeptical at the very beginning, if the sensor would be sensitive enough to register things of different sizes and thrown various way. I am using this “smart mailbox” for about a year and I am amazed by the sensor accuracy. The sensor registers almost everything, I even did not need to install the supplied reflector as the stainless steel box provides enough reflection for the IR light. Overall this is definitely a stunning feature, very practical and daily routine saving. I am using the trigger from the mailbox for taking camera snapshot as well, so I see who was putting the mail in. together with the tracker you have the exact timestamp of the incoming snail mail in the Loxone visualization. Very cool.

This is how the box looks like now when installed. There is still brick tile layer pending around it, which I hope I will be able to finish later this year. I will post another picture afterwards.
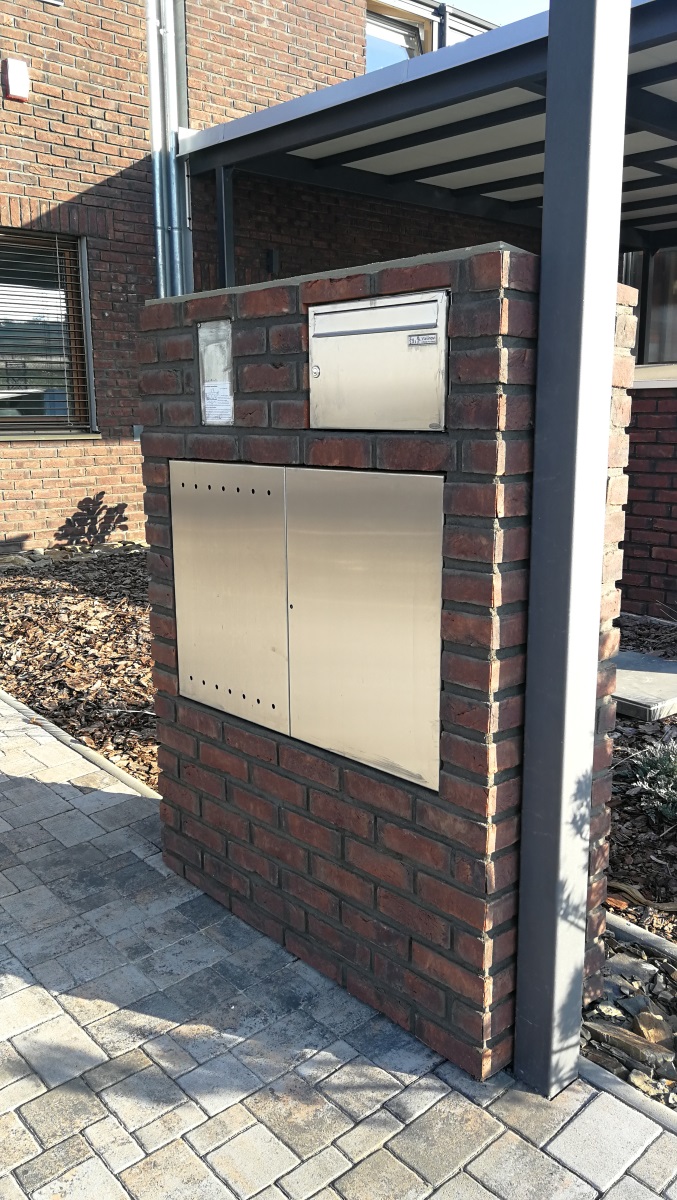
Update: Bricks are already there, so this is the almost final look.

As you can see, there is the Loxone intercom in-wall box prepared already, then the so called “smart” mailbox we have described here, and behind the big stainless steel doors is located gas and electricity meter, each in a separate housing.


Hi,
what a great solution, the looks are great. 2 compartiments, 1 for mail and 1 for packets.
Can you send me a part of the loxone config file?
Thanks You
Ralf