What I missed since the very beginning was some kind of an overview of the basic status of the house. I know, tablet, I do have one wall mounted in the living room as well, but by dashboard I mean something simpler, giving me the exact info about the things I need to know before I leave the house.
Typical scenario is when you want to go out and arm the alarm function. I wanted something to provide me with the basic status about things like windows if they are closed, terrace door shut, back gate locked and so on.
HW part
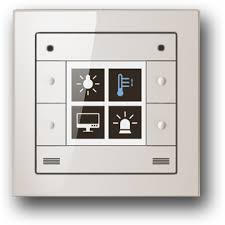
Firstly I was thinking about something like U-lux. It is nice looking intelligent switch with color display and side buttons, but firstly I did not have cable running into LAN rack switch (my star cabling is centralized in Loxone cabinet), and secondly it seems that the display is capable to show only three items at once, the fourth is used as next/back button. So I was not sure if this would serve the purpose, I liked MDT LED indicator more.

Because I do not have any KNX components yet, I got to an idea to create something similar based on DMX. There are 128 channels, easily addressable in Loxone config, and I am not using these all. So I was looking for small DMX boards I could use and build my DIY dashboard on a top of that.

I found a guy who does some DMX components. Based on his standard DMX chasser he created board of custom size for me, that would fit in the installation box designed for light switches.
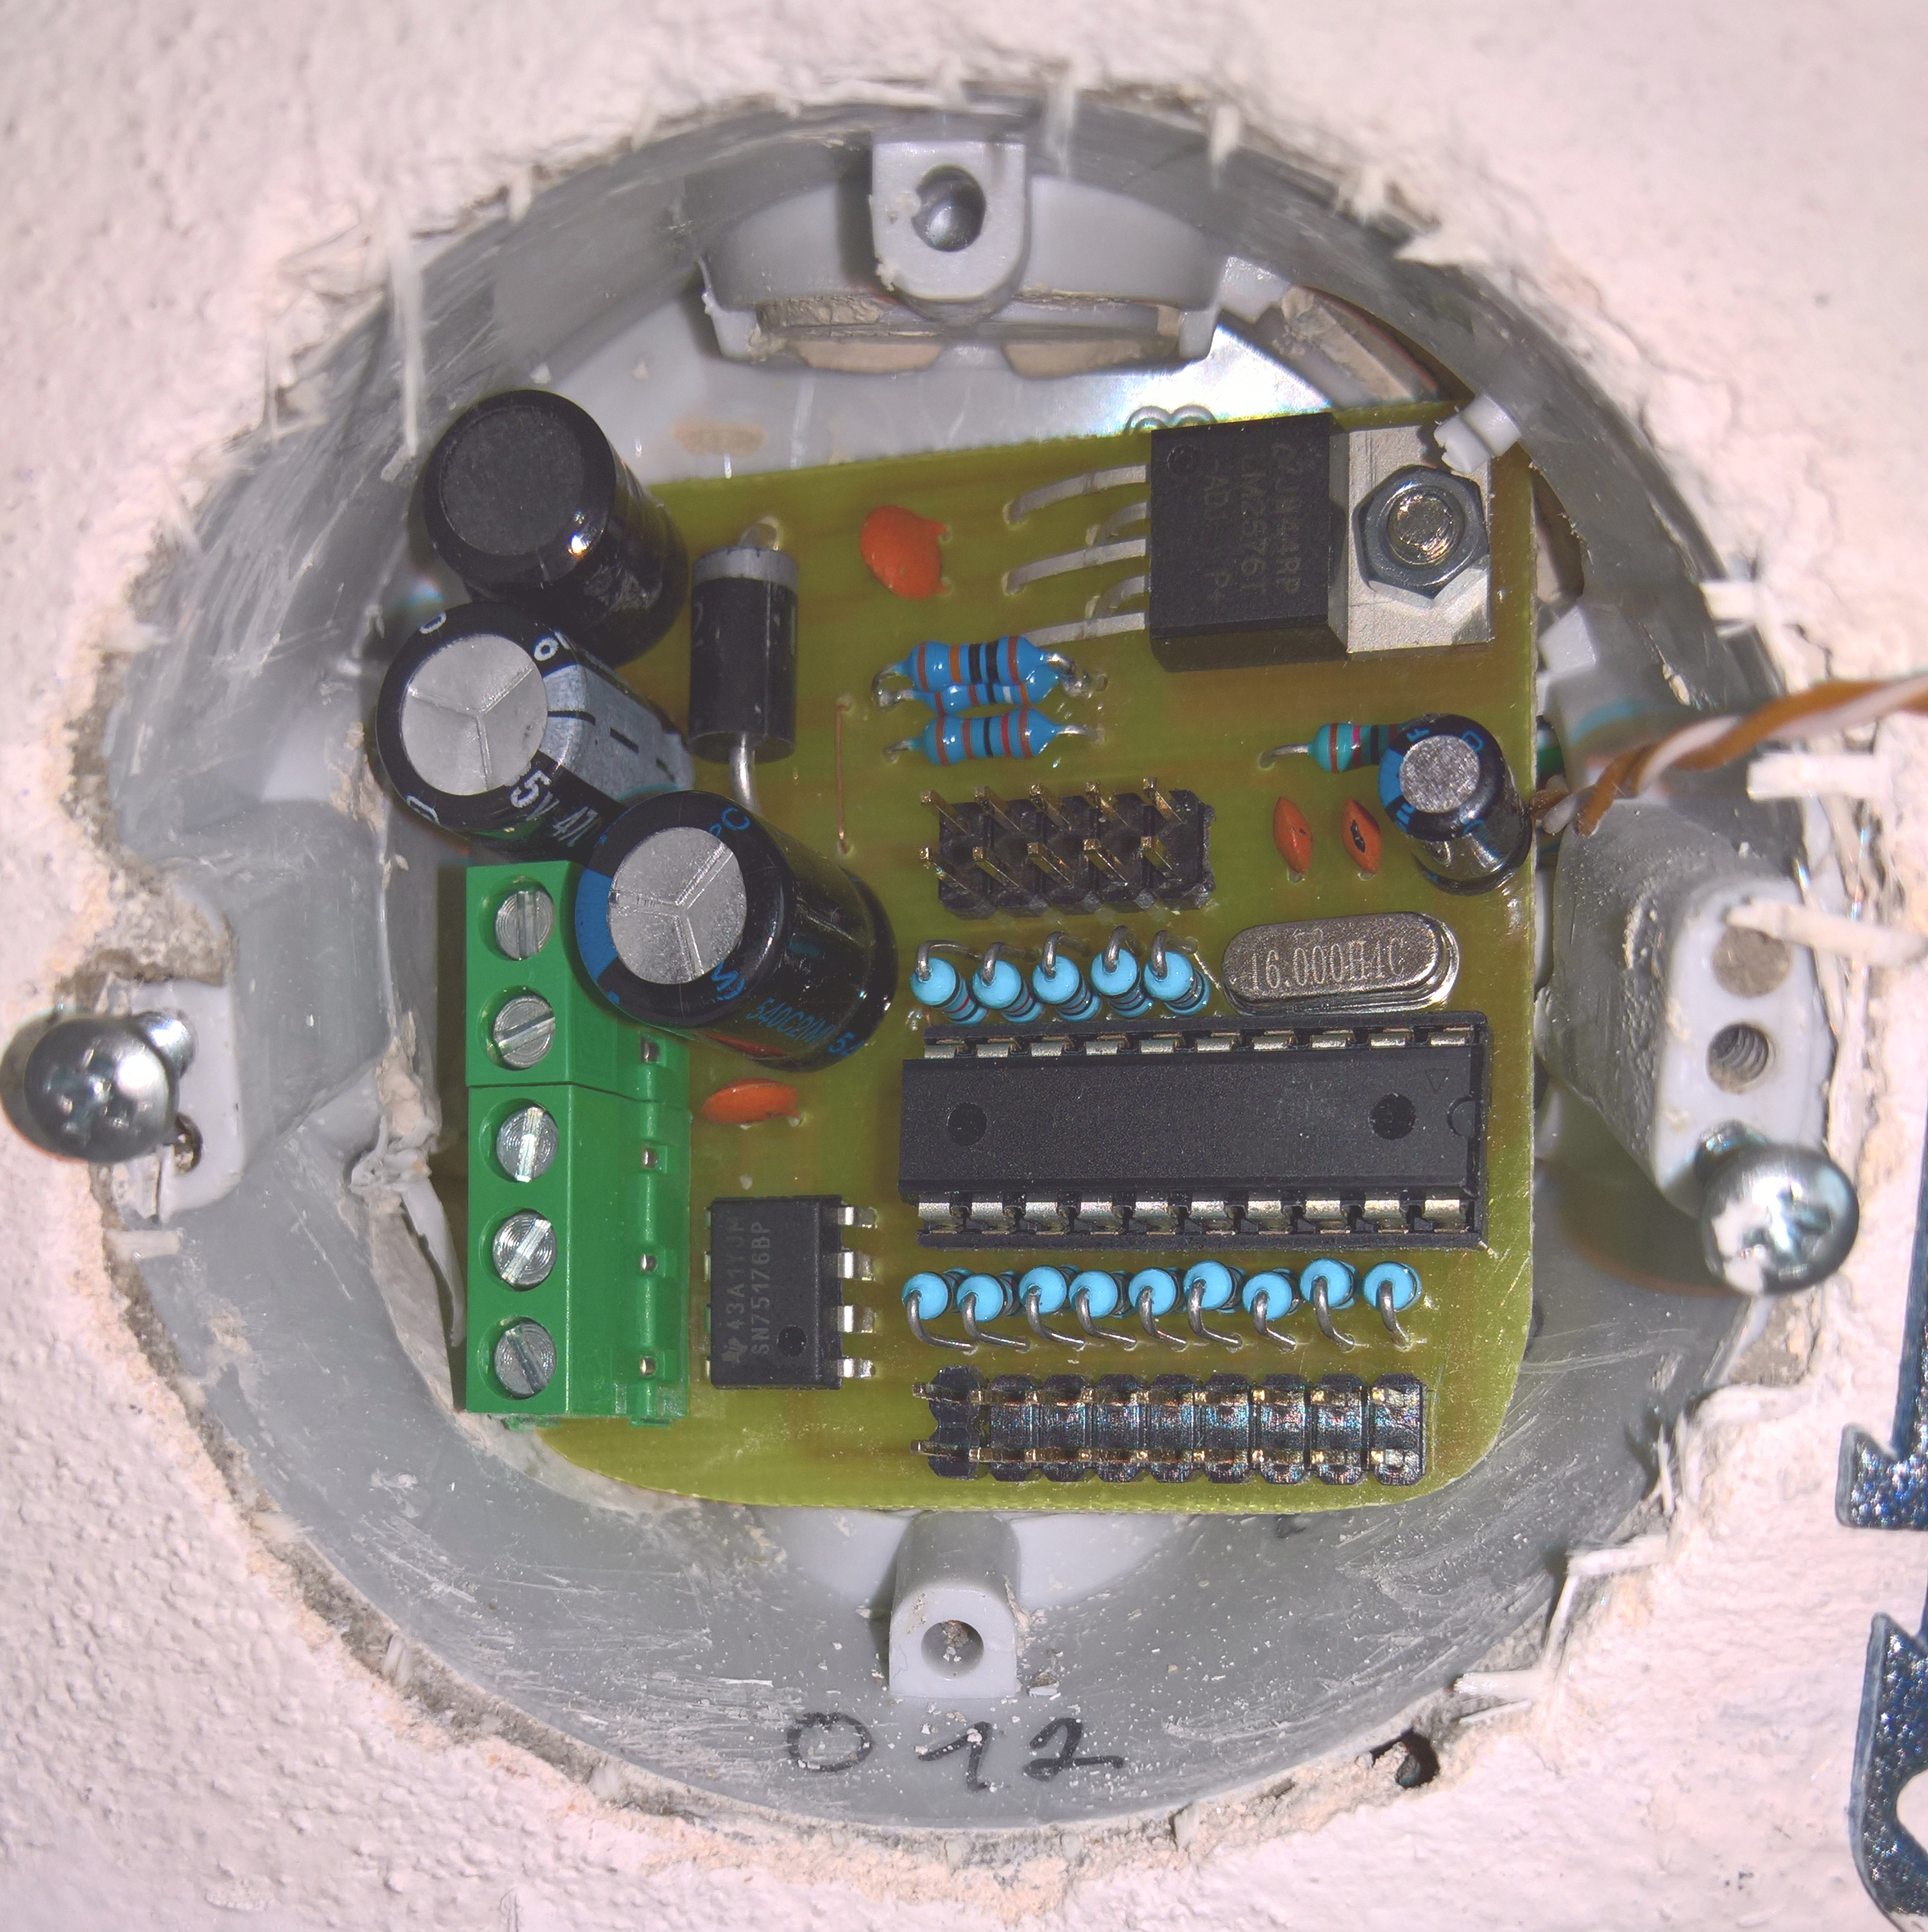
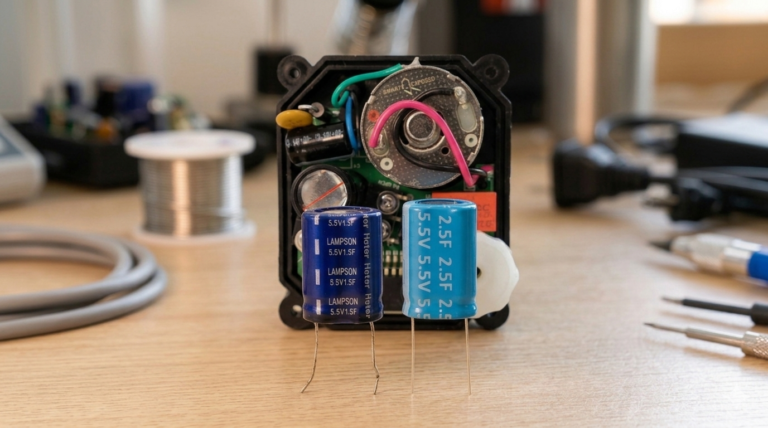
The electronics is based on Atmel at89c2051 chip, and offers 8 + 6 output pins for my status LEDs. Normally you would also need some DIP switches to set the DMX channel address, however that would significantly increase the space requirements. I got over this by agreeing to set fixed channel for this device. That means I can use 14 outputs (for LEDs indicators) that can be assigned to any action. On the board there is voltage regulator which allows running on standard 24VDC, and apart from that there is also DMX bus which needs to be connected. That all.
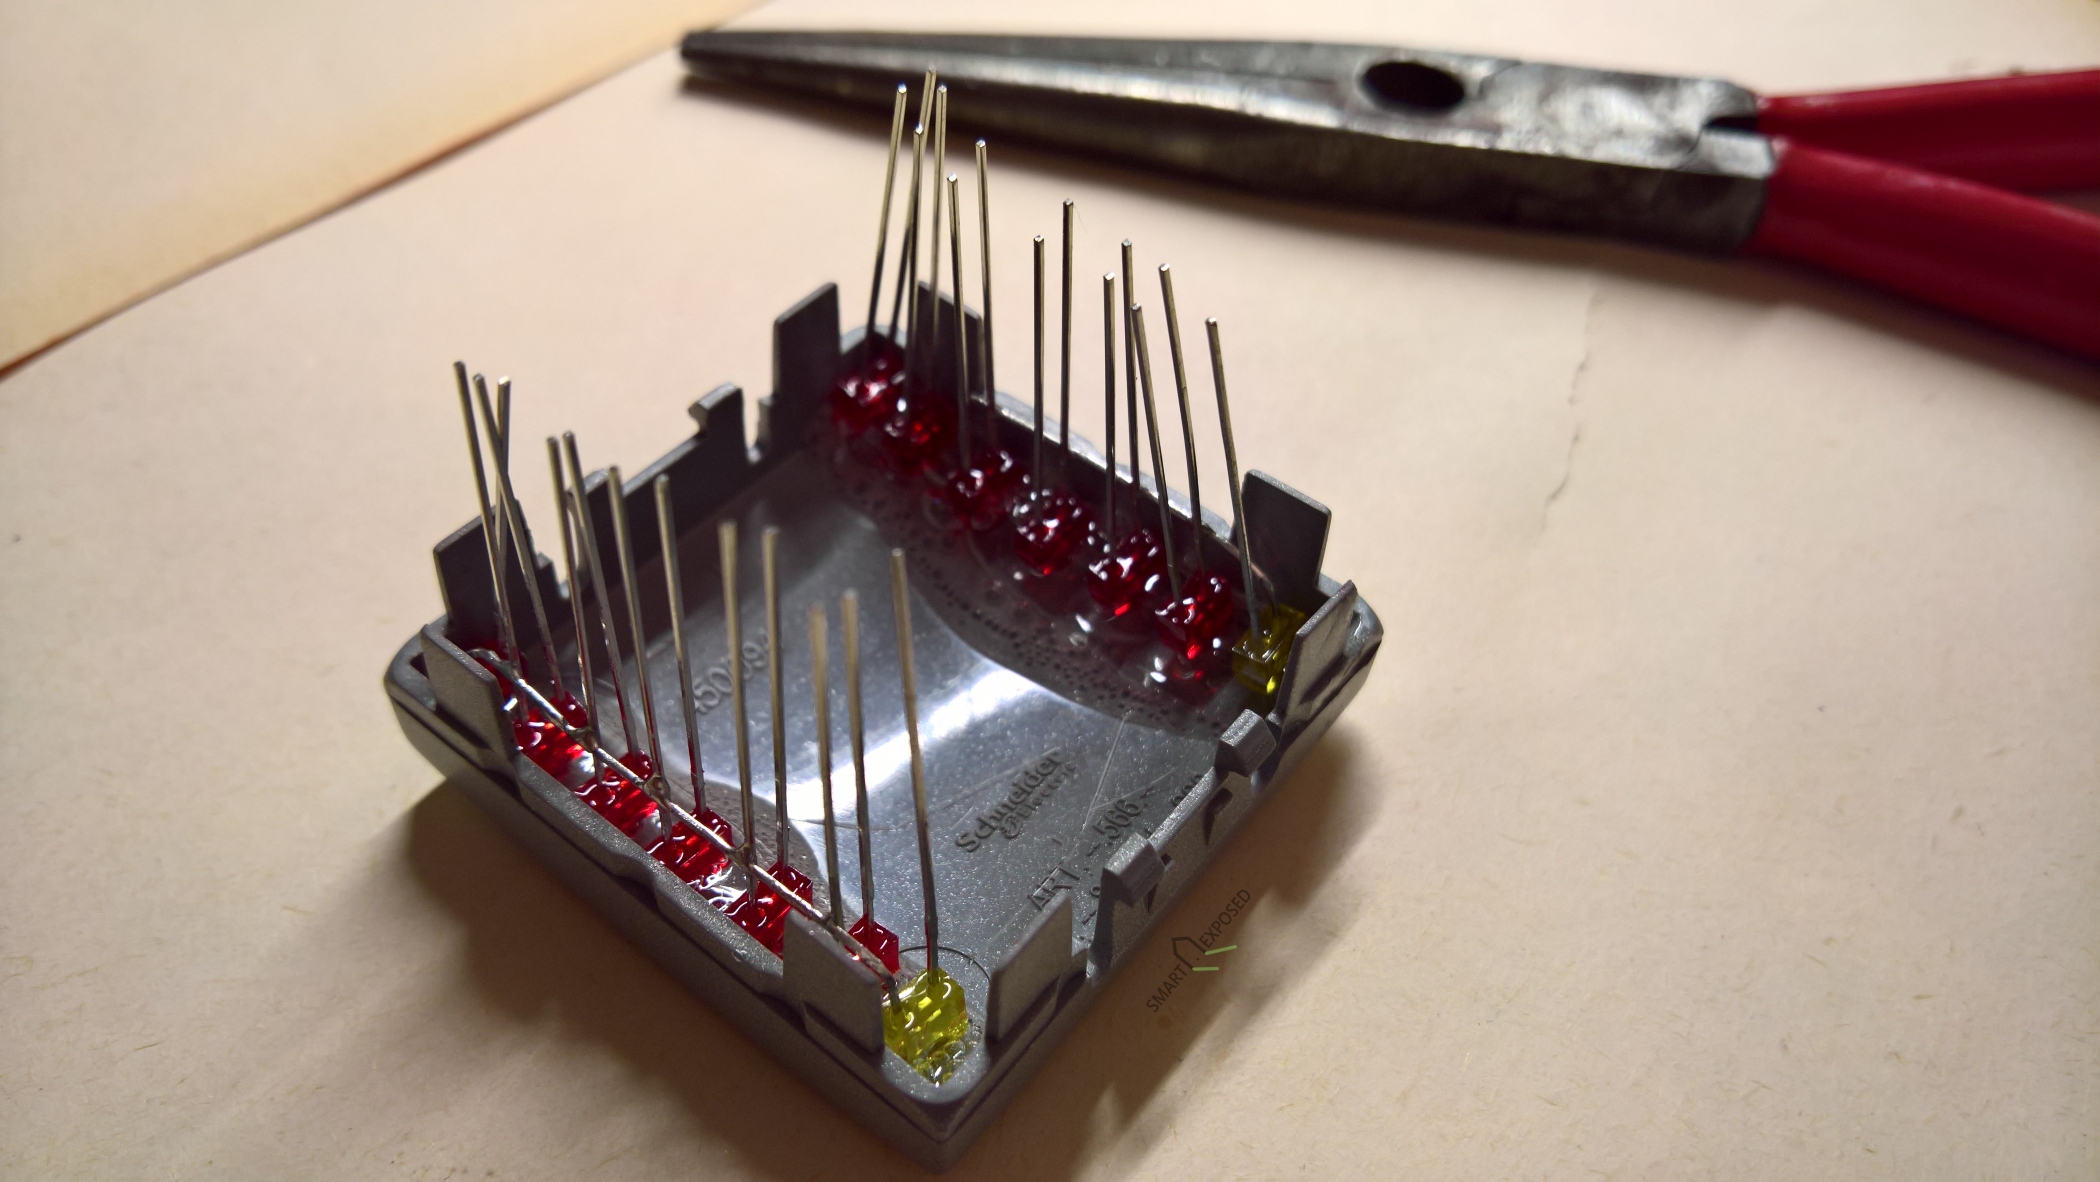
Now the fun part begins. In my house I am using Schneider Quadro design line for sockets and wall switches so I wanted to implement the dashboard so that it matches this style. I purchased blind module (cover) to create the front panel from, drilled 14 small holes for 2mm LED. I glued there 12 red and two yellow diodes, and connected these using flexible cable with the DMX board.
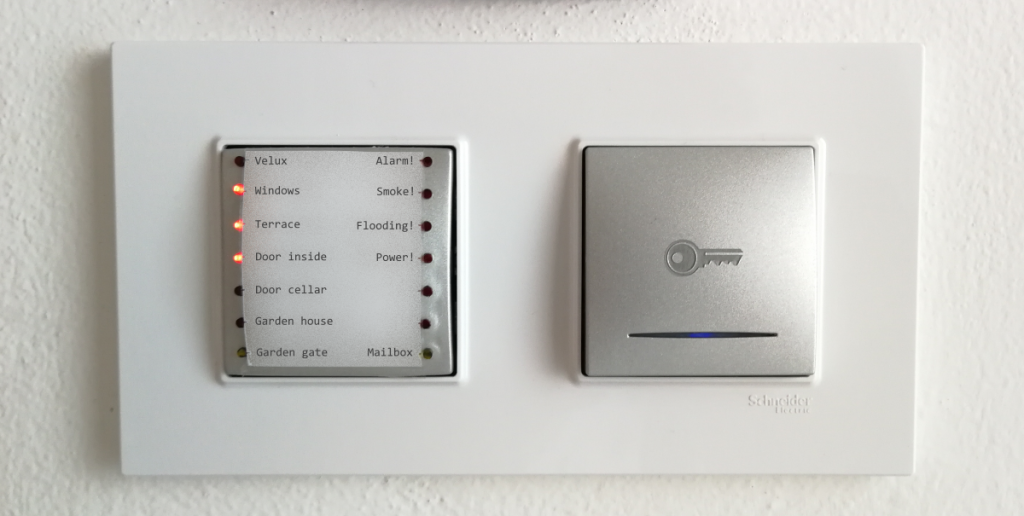
The end result looks as shown in the pics. Please note, this is still non-final version. I put just temporary paper signs to the each LED to allow changes based on the usage experience, so I still need some time to finalize the assignment for each indicator. As you can see, there are two unused statuses. Once I finalize all the messages I want to have there, I will have these laser burned on the surface, similarly to my unlock button you see next to it.
SW part
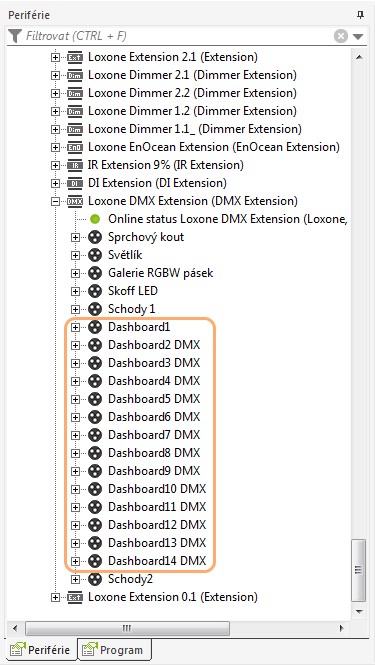
Programming in Loxone config is very simple. You just need to add the DMX device with a proper channel setting for each light as DMX actors. Please note, this DMX board has only binary outputs for each channel. That means, value 0 equals OFF, and any higher value is ON (no dimming).
Once all DMX channels are added, you can assign any actions to the newly created AQs.
There is one additional programming step I had to include later on, and that is the initialization phase. Without it the dashboard lights were out of sync after any reset or config update. I solved this problem by adding a delayed pulse after each program start, which inverts all values for a couple of seconds using XOR logical function. This refreshes the status after reboot for the whole dashboard.
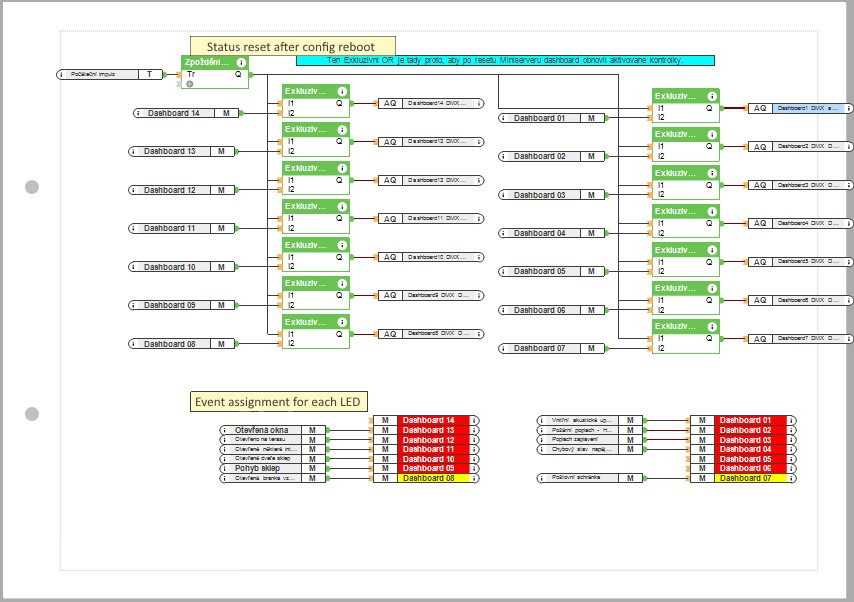
Lets have a look at the config page. The top part is just the status refresh after program restart procedure, the bottom is then simple event to LED assignment. As I already mentioned, I do have 12 red and 2 yellow LED’s, so here I visually see which action is connected where.
User experience
We are using this dashboard at home for quite some time already, and it is really very useful for everyone. It gives us the overall status before we want to arm the alarm, so we no longer have situations where someone armed the house that sounded right after that. Also, it gives us immediate info if there was anything put into the mailbox in front of the house, or if all important doors and gates are shut. Lastly, in case there is any internal alarm triggered (smoke, water leakage, power outage) you know what is happening. I do have special sequence that mutes the alarm for some time, so that people don’t go mad in case of “burned toast” in the kitchen, for example.
I am very surprised, that Loxone does not have something like this in their product portfolio, as it has a good potential for several use case scenarios. I understand that tablet or mobile might serve similar purpose, but this simple LED solution requires no maintenance, and tells you immediately what you need to know.
What could we do better?


Are you in the USA? If so, I’d be happy to send you a U-Lux wall switch for you to experiment with. I have a bunch of them I was going to use in my project, but found the configuration too complex for my simple brain. Would be happy to send you one if you’re in the USA.
Hi Ben, thanks for your comment. I am not from States, I am from Europe. The U-Lux switches looks interesting. I never had a chance to play with these, because it would be difficult for me to get Ethernet into the switch boxes. But it is definitely an interesting product, given the fact that it can also show video stream from intercom or IP camera. Display seems to be a bit grainy for the price, but there are not many competitive products on the market like this these days.