I always planned to integrate utility meters into the smart home system. In my case this would mean to connect the electricity, gas and water meters. For all these I did the cabling preparation while I was building the house, so I was literally ready to go. But as usual, there were things higher on the priority list that had to be tackled first. Recently I got back to my initial ideas and gas meter was the easiest to start with.

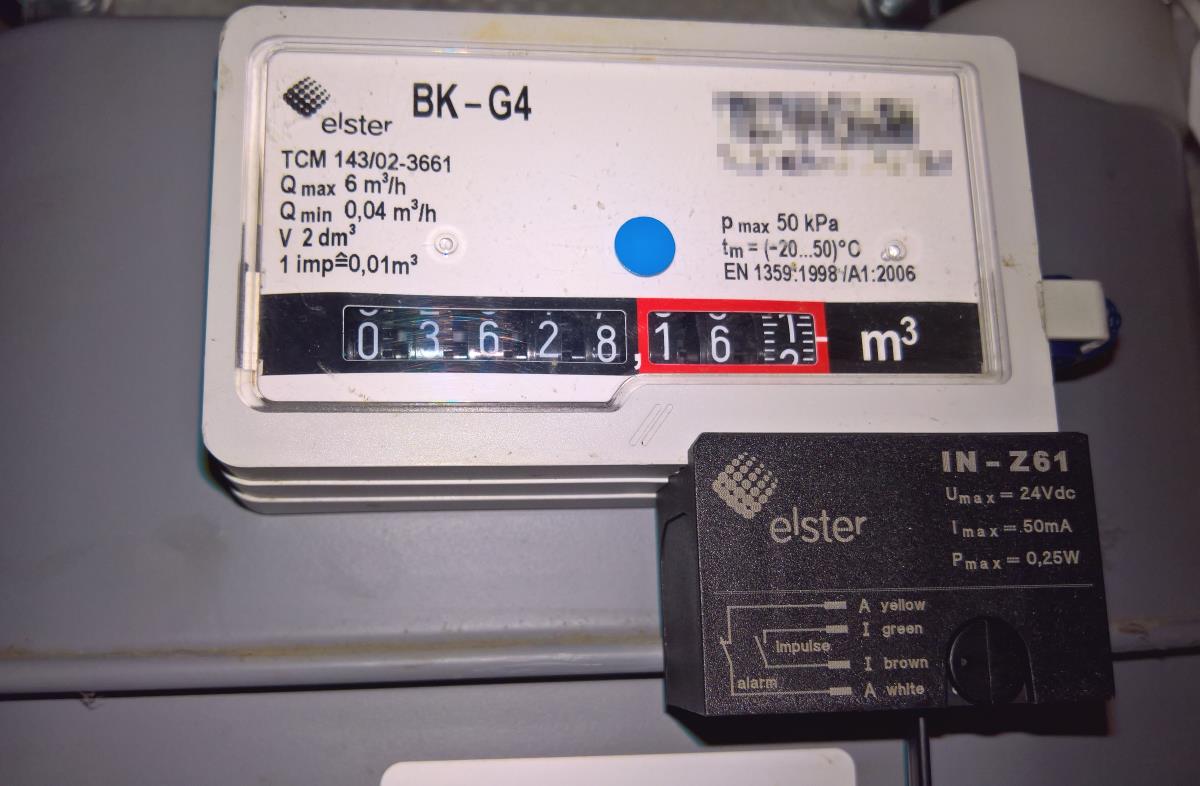
The reason why gas was the easiest to integrate is a simple. My gas meter is already prepared to be “connected” and all you need is just to purchase additional/optional sensor made by the same manufacturer as the meter. Technically the sensor is pretty simple. It is just magnetic sensor that is triggered by a small neodymium magnet present on the very last digit of the gas meter. This gives you a pulse every time the revolving last digit crosses the zero value, so with every 0.01 m3 consumed I get a pulse. I have seen few tutorials where people have built and installed the magnetic sensor themselves (for less cost obviously), but I didn’t want to confuse and make upset my gas supplier with some suspicious wired extras attached to the meter.
There are very strict rules when it comes to the utility meters in general, and as these are the official ones used for billing, any suspicious intrusion can lead to violation of contractual terms and conditions with subsequent claims for potential damages. In our country they are very sensitive to any manipulations to the meters. For instance one of our largest electricity supplier reported that last year they have found more than 3000 illegal manipulations to the metering units causing a damage exceeding 5 million EUR.

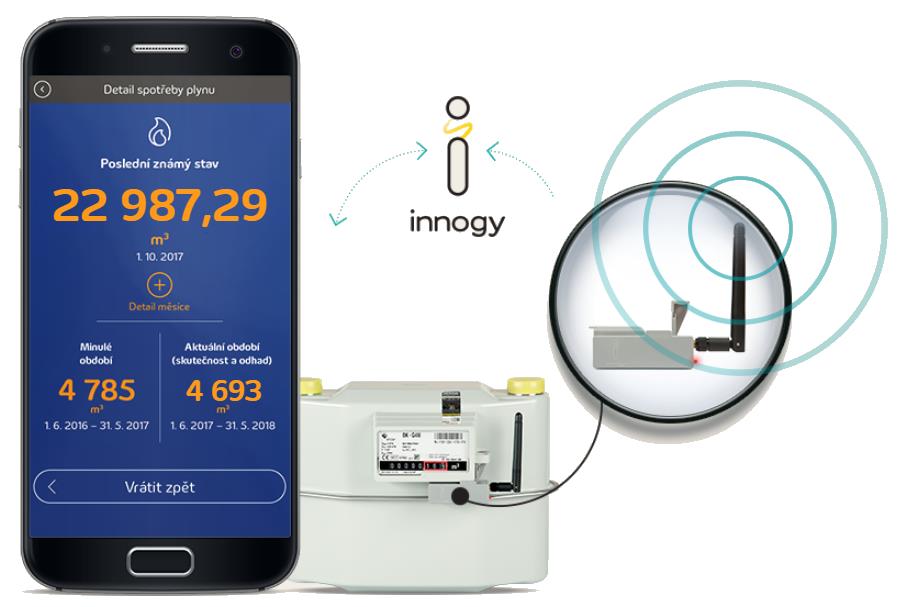
To not get into any troubles or difficulties I decided to purchase the official sensor for the mounted gas meter have. I also wanted to let them know my intentions in advance to get some official green light to my sensor installation. Interestingly enough, my first attempt failed. That was few years back and I remember that my request has been forwarded across several departments with couple of emails and calls exchanged. This year was a different. Some global company took over my gas supplier and one of the things they started to offer is “consumption monitoring”. This is a paid service that gives you the ability to see your energy consumption on your smart phone.

They use a different version of the sensor, that is equipped with a battery and wireless module connecting to the SIGFOX network, which is a IoT network implementation. All the data are then stored somewhere in France and the only way to get these is to use the app provided from the utility provider. It is nothing for smart home integration, however at least they got some sense of what you can use the sensor for. And probably because they know about the sensor installations already, my last email attempt went well and I got the green light to install the Elster INZ 61 sensor under certain conditions and warnings (to not interfere with the meter in any way, to make sensor removable as there are scheduled replacements of these gas meters at least once per 10 years, or that it could happen that the next meter would not necessarily be the same type and my risk of having sensor that cannot be connected in the future).
So now I have my gas meter connected to Loxone. The sensor connects using four wires crimped in RJ11 connector. One pair (green/brown) is for the magnetic contact impulse, and the other pair (white/yellow) is the alarm circuit that can be used for sudden sensor disconnection alert. The maximum ratings for the sensor contact is 24V DC and 50mA. This is perfectly suitable to be directly connected to Loxone, taking just simply one wire from each pair to the 24V+ and the other to individual digital inputs of an Loxone Extension.

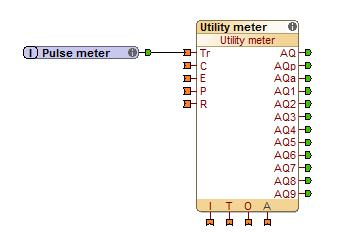
Loxone has already predefined Utility meter function block in the config app, so the configuration is really simple and straight forward. All you need to do is to connect your digital input to the from the magnetic contact to the trigger input “Tr” input on the functional block. Then set the unit to “m3” and define in parameter “I” how many pulses are for 1 m3. In my case this is 100 as we are getting a pulse for every full rotation of the .00x (thousandth) digit. You can also use the offset value “O” to define your current meter status and any further consumption will be then added to that number, so you will effectively see the same total number in the app and on the meter.
The alarm loop you can then use to surface a notification that someone has either disconnected the sensor or the wire has been interrupted. This could be done as SMS, email with attached screenshot from your surveillance camera, horn activation or anything you might like.
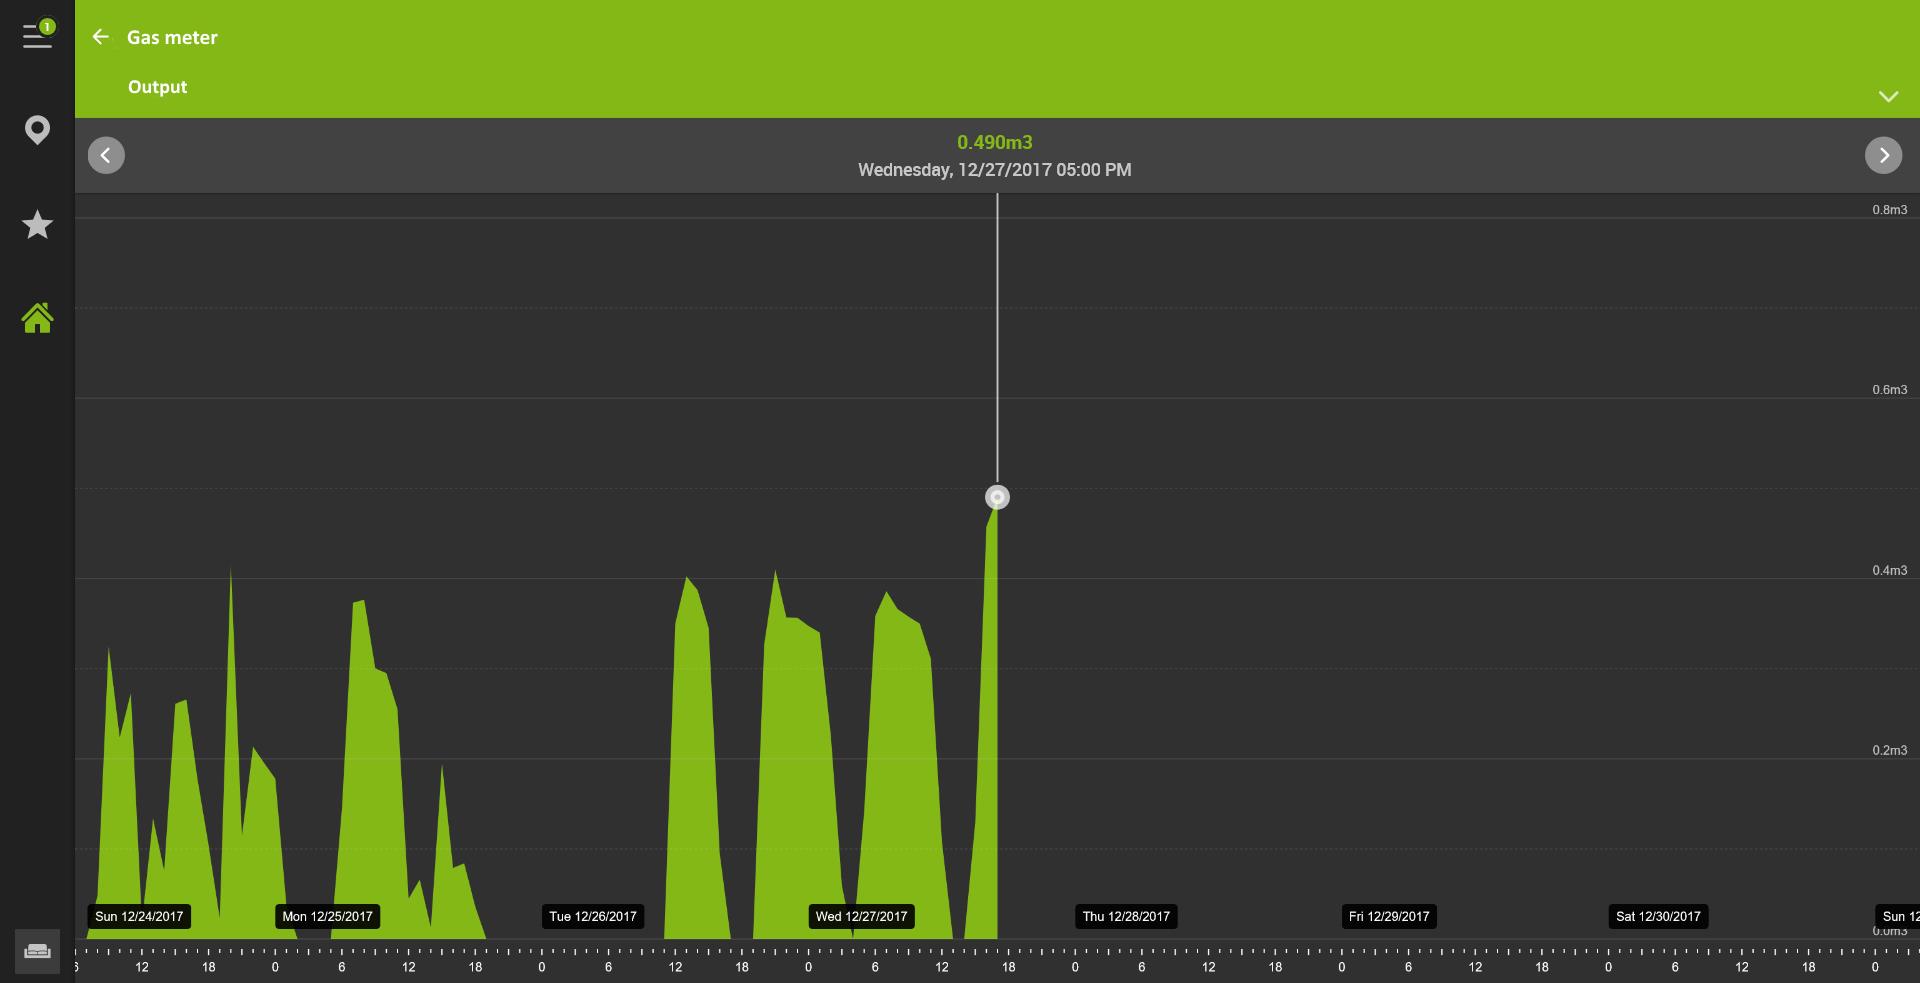
The visualization of the data from the utility meter block is following. It gives you daily totals of consumption in bar charts, or continuous line chart of the supplied energy per hour. There is another parameter “T” called Averaging time, where you can define the time period over which the average consumption is to be calculated. This is then shown in the overview of the block, and is lid green of there is any ongoing consumption in the given period. Initially I tried 10 minutes, but changed the setting later to one hour as the meter is not giving you so many pulses for such short time period.


I am quite happy with the overall result, and my next plan is to read the electricity meter’s blinking LED to get the data for electricity consumption. I will post the details once ready and tested.


Zdravim,
obraciam sa na teba s prozbou:
Akeho dodavatela mas na plyn? ja som to riesil cez SPP ale oni neboli ochotny pristat na tom aby sa na ich zariadenie nieco montovalo.
vidim ze si riesil aj vodu a elektrinu, tu sa ti to podarilo doriesit tiez officialnou cestu?
Dakujem za info.
Patrik